Paneer Bhurji Recipe with step-by-step photos and instructions. Now enjoy restaurant-style paneer bhurji at home with this simple yet delectable recipe.
Paneer is a favourite amongst most of us. Kids and adults both relish paneer varieties. And why not? Paneer can be used in a variety of ways. With no distinct taste of its own, it is easy to blend it into a recipe of your choice. Be it the famous ‘paneer butter masala‘, the lip-smacking ‘paneer tikka‘, starters like ‘chilli paneer‘, ‘paneer manchurian‘, a paneer dish is inevitably present in a vegetarian menu.
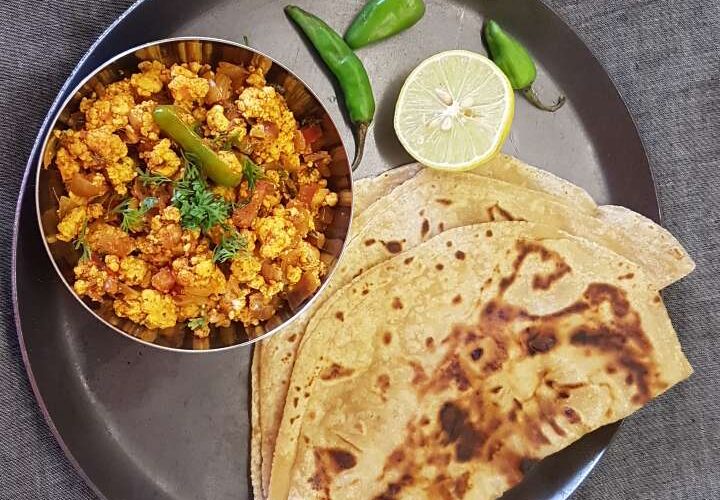
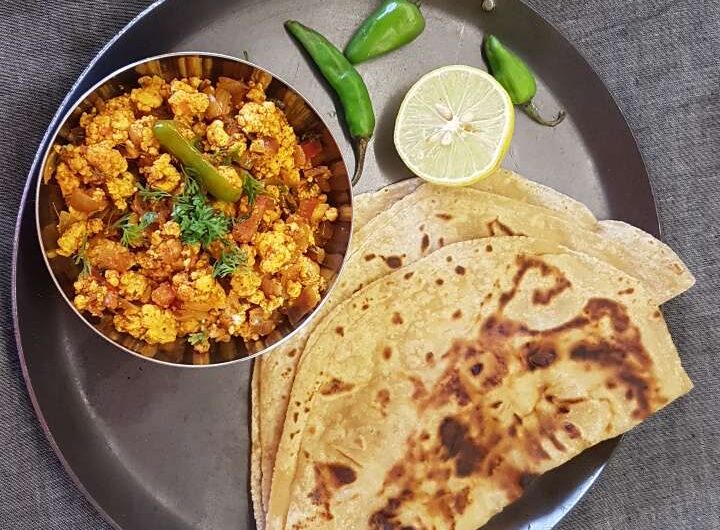
One of the most loved paneer recipes is the paneer bhurji. It is simple and easy to prepare compared to most of the paneer recipes. So here is the recipe of paneer bhurji which serves as an excellent side dish with chapati, roti, naan etc.
What does Bhurji mean?
The word ‘Bhurji‘ means scrambled in Hindi. Paneer bhurji literally means ‘paneer scramble‘. Moreover, this scrambled paneer is the veg version of ‘Egg Bhurji‘ (Anda Bhurji) where eggs are scrambled. However, in this paneer bhurji recipe, we use paneer (Indian Cottage Cheese) instead of eggs.
What is Paneer Bhurji?
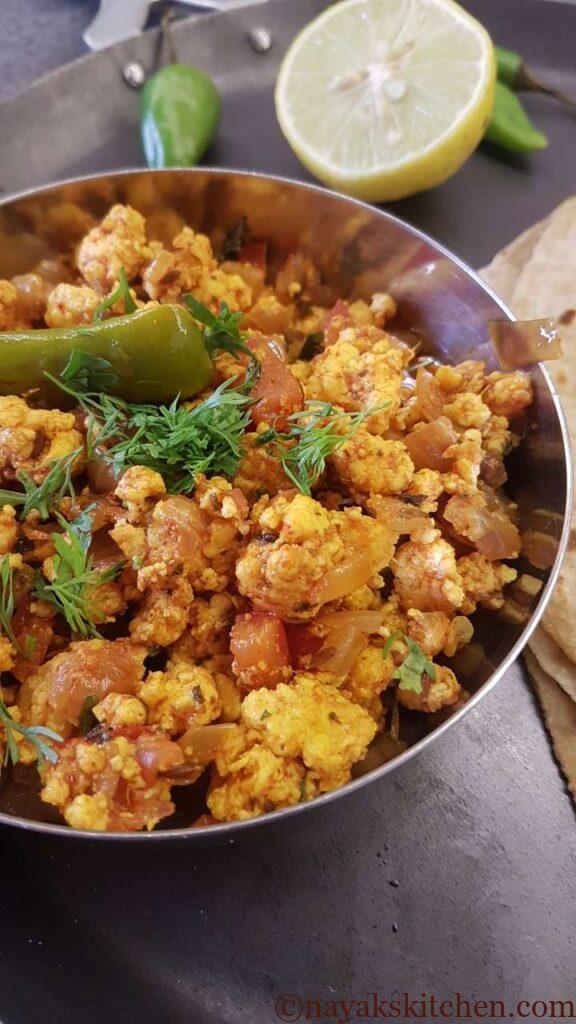
Paneer Bhurji is a popular vegetarian North Indian recipe where crumbled paneer is tossed with onions, tomatoes and spices. It is savoury, spicy to taste and gluten-free too. Furthermore, it is a healthy breakfast option and can be served with any Indian flatbreads like roti, chapati, naan etc.
Although paneer bhurji is a great breakfast option it can be had for lunch or dinner too. Moreover, it also can be packed for kids tiffin or as lunch for office goers.
What is Paneer/Crumbled Paneer?
Paneer is Indian cottage cheese that is made by curdling milk with a food acid like lemon juice or vinegar. Paneer is neither fermented nor aged like other types of cheese.
After curdling, the whey is separated from the curdled milk solids using a muslin cloth (cheesecloth). The solids are then tied in the cloth and a heavy weight is placed over it to drain out any excess whey. Draining for a shorter time results in soft paneer. In addition the longer you keep the weight the harder the paneer gets.
The resulting paneer is then cut into cubes or crumbled with hands for use in recipes. This paneer bhurji recipe uses crumbled paneer. Sometimes I prepare this paneer bhurji with homemade paneer as it is very soft.
Benefits of Paneer
Paneer is very nutritious and a great source of protein for vegetarians. It is rich in calcium, potassium and selenium. It is great for bone and teeth health. Moreover, paneer has great taste and a provides high satiety.
Tips for Paneer Bhurji Recipe
- Paneer – Firstly, always use fresh soft paneer. It is easy to crumble it with hands. Besides, homemade paneer is the best. Also, try out different brands of paneer. Some brands give better texture, taste and especially softness.
- Store-bought paneer – If you are using readymade paneer, immerse it in warm water for 15-20 mins. Drain the water completely and crumble the paneer. Note: If the paneer is soft you can skip this step.
- Tofu – You can substitute paneer with regular tofu for a vegan option. However, do not use silken tofu as it is too soft and will fall apart. (Although regular and silken tofu are made using the same ingredients they are processed slightly differently and cannot be substituted in a recipe for each other.)
- Spices – You can adjust the spices as per your taste. This recipe is medium-spicy.
- Chilli powder – Preferably use Kashmiri chilli powder as it imparts a bright red colour to the bhurji. However, you can use any chilli powder if unavailable.
- Kasuri methi – Warm the Kasuri methi slightly till it turns crisp (You can warm it on a tava). Crush and then use in the paneer bhurji recipe.
- Sugar – Use of sugar is optional. I have added a tsp of sugar to bring down the tartness of the tomatoes.
- Leftovers – Lastly, you can use any leftover bhurji to make sandwiches or use as a filling in wraps (Kathi rolls). Serves as a great tiffin option for kids.
Variations/Twists
- Capsicum – You can add capsicum as a variation. I, however, do not prefer it as it turns the bhurji soggy at times.
- Mumbai-street style – You can add 1 tsp pav bhaji masala for a Mumbai street style paneer bhurji.
- Dhaba-style paneer bhurji – Use ‘Dhungar Method‘ to get an aromatic smoky Dhaba style paneer bhurji. For this, at the end of the recipe, a burning piece of coal is placed in a bowl inside the pan. Then a few drops of ghee are poured over the coal and a lid is placed over it. The emitting smoke is trapped in the pan and it gets infused in the food. This gives a wonderful tandoori effect to the recipe. However, do remove the coal from the pan after 30 seconds else the bhurji will become too smoky.
How to make paneer bhurji at home? (Step-By-Step)
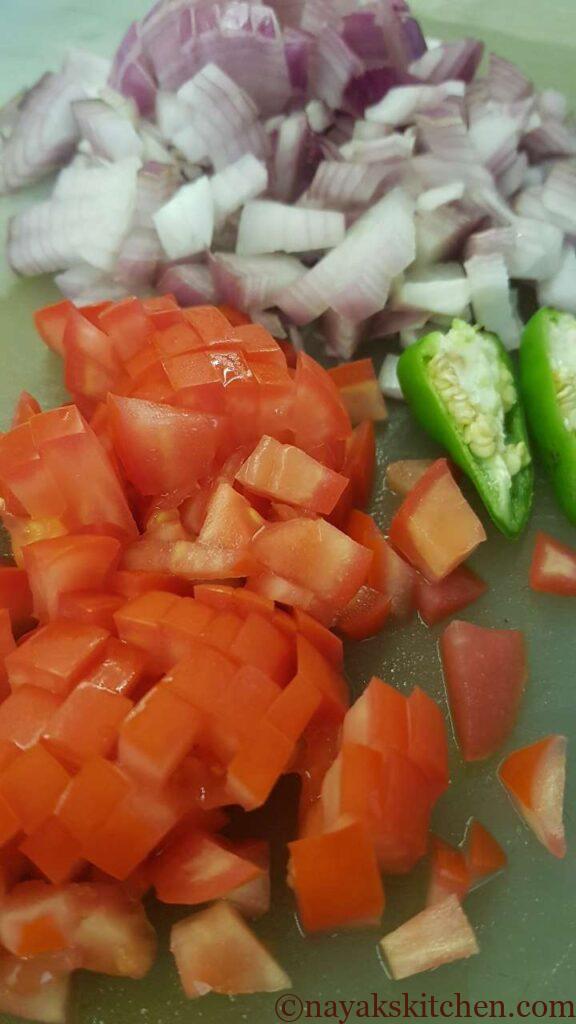
- Crumble the paneer and keep it aside covered. Chop the onions and tomatoes. Slit the green chillies.

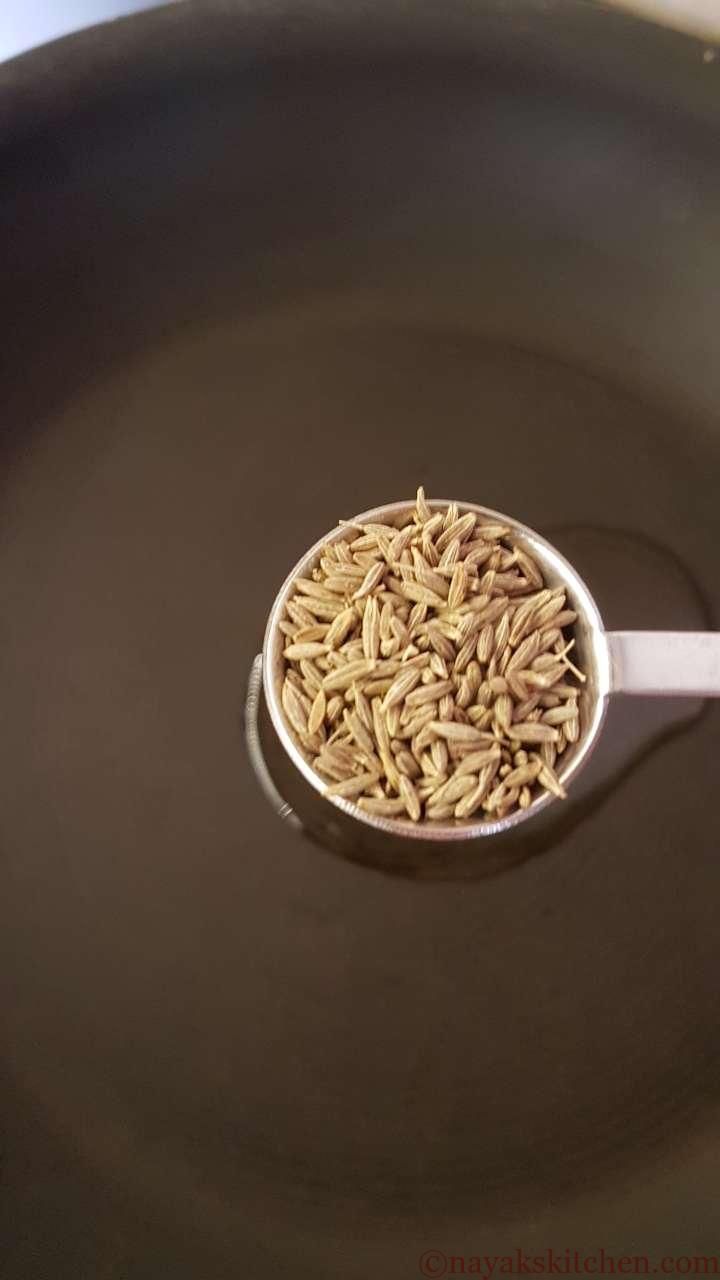
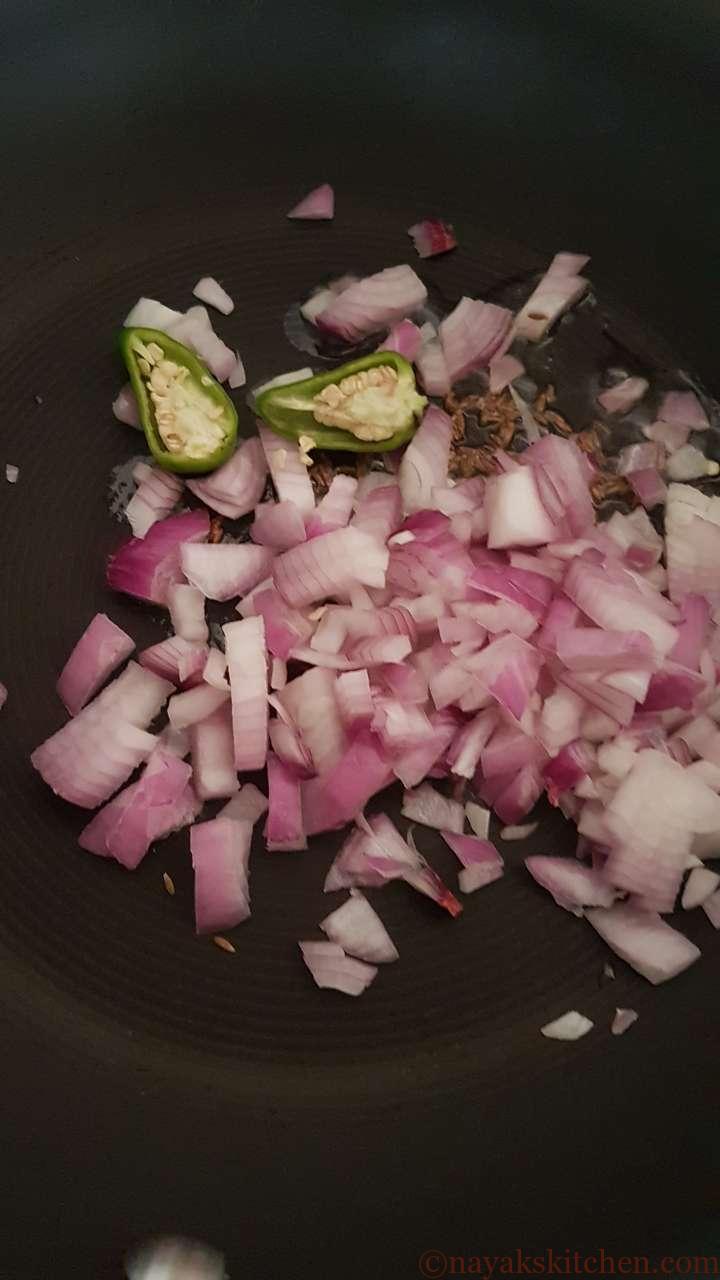
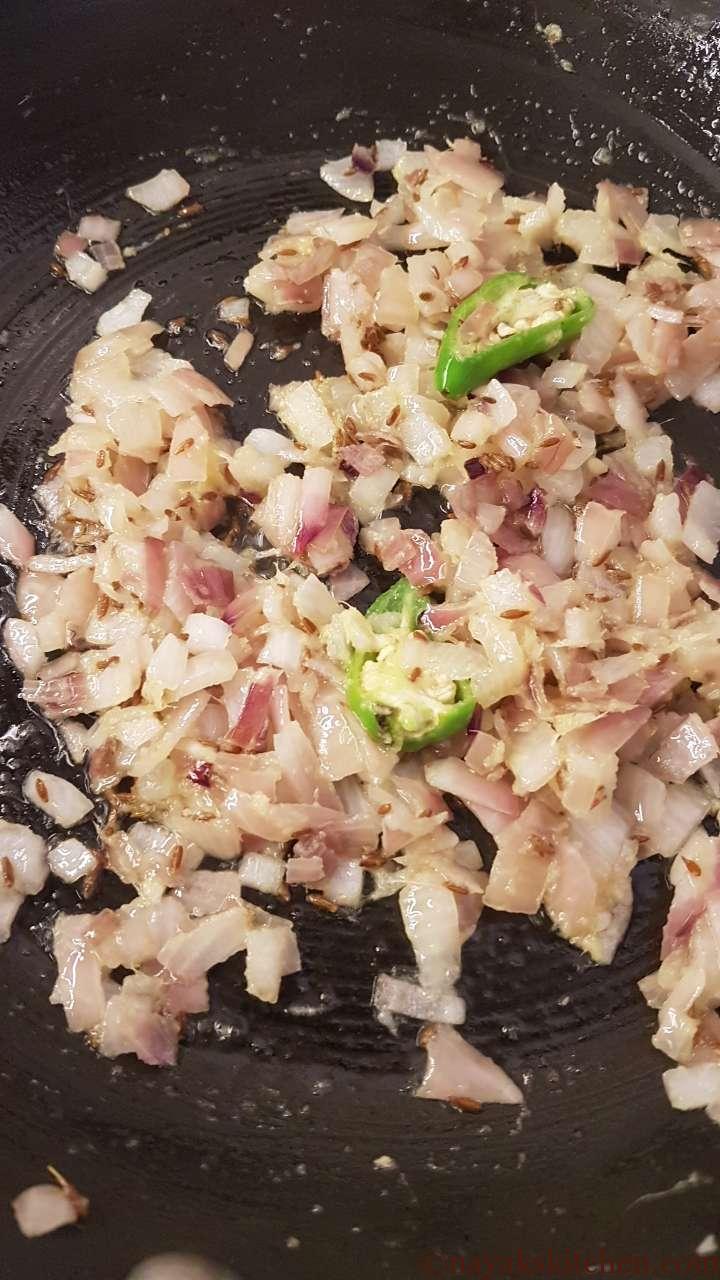
2. Heat oil in a pan. Add cumin seeds (jeera). Sauté the cumin seeds till they splutter and release an aroma. Do not burn them. Add the chopped onions and green chillies.
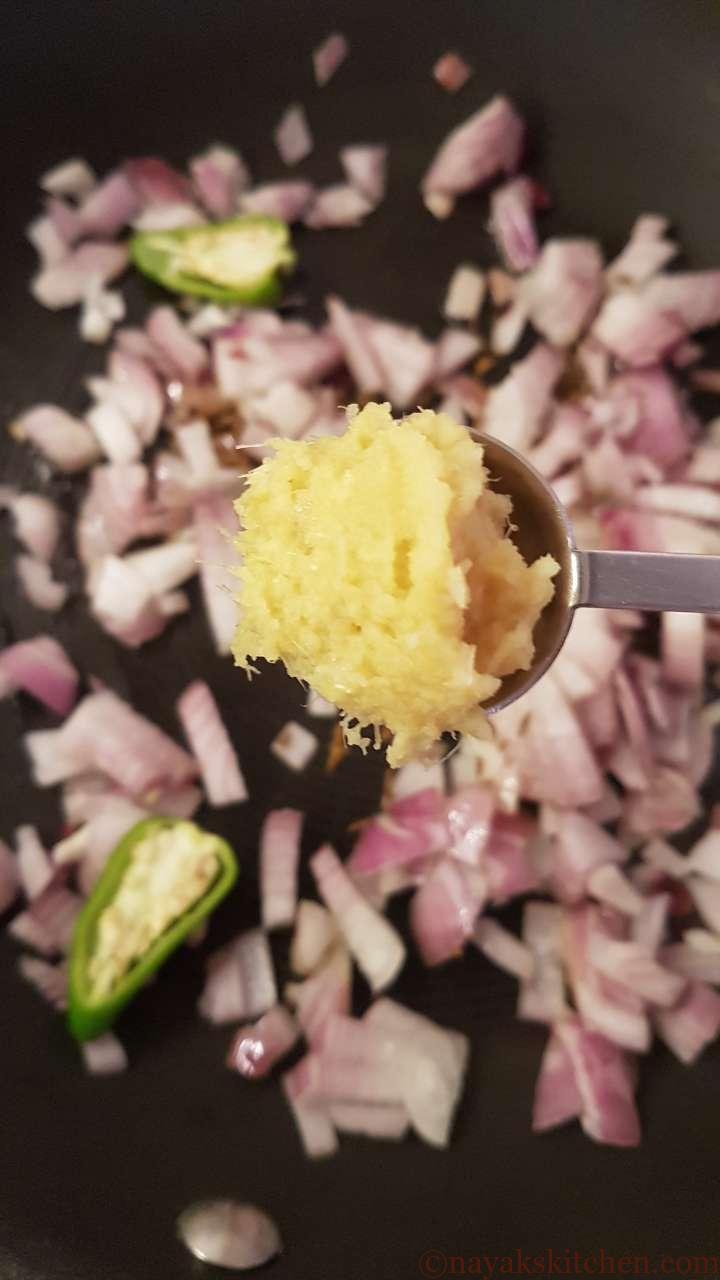
3. Add ginger garlic paste. Sauté till the onion becomes soft and the raw smell of the ginger garlic paste goes away.
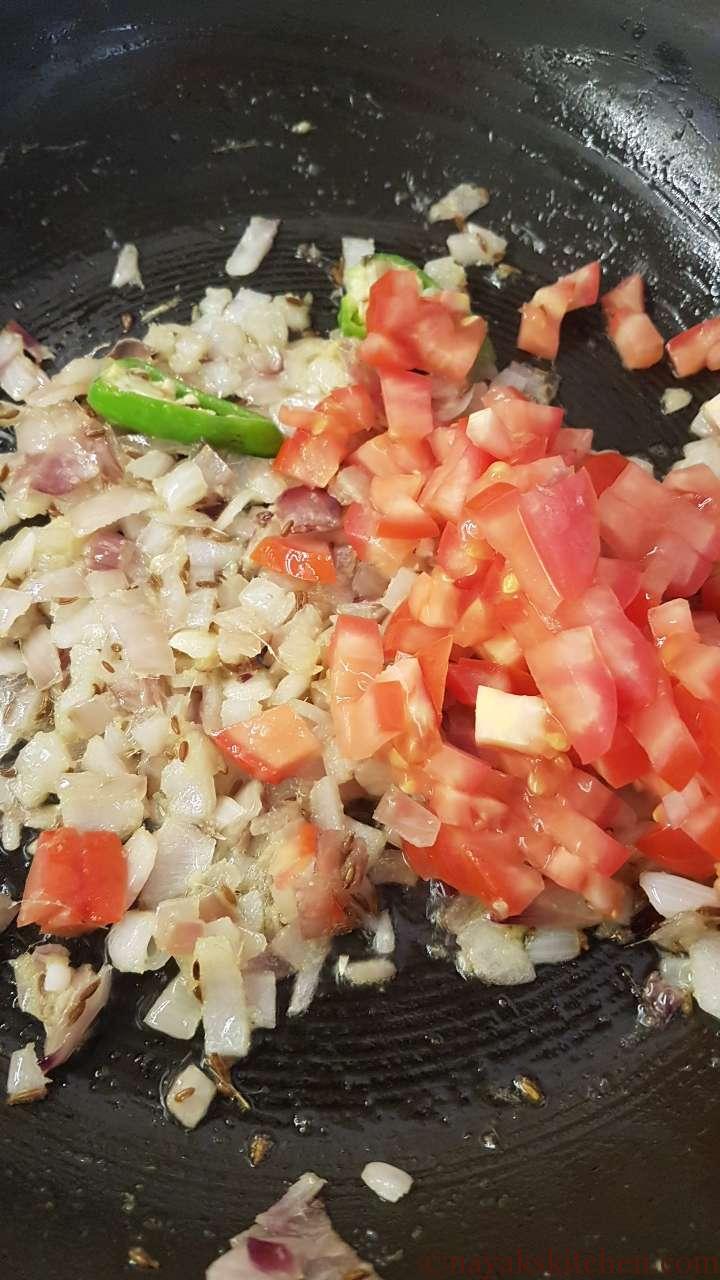
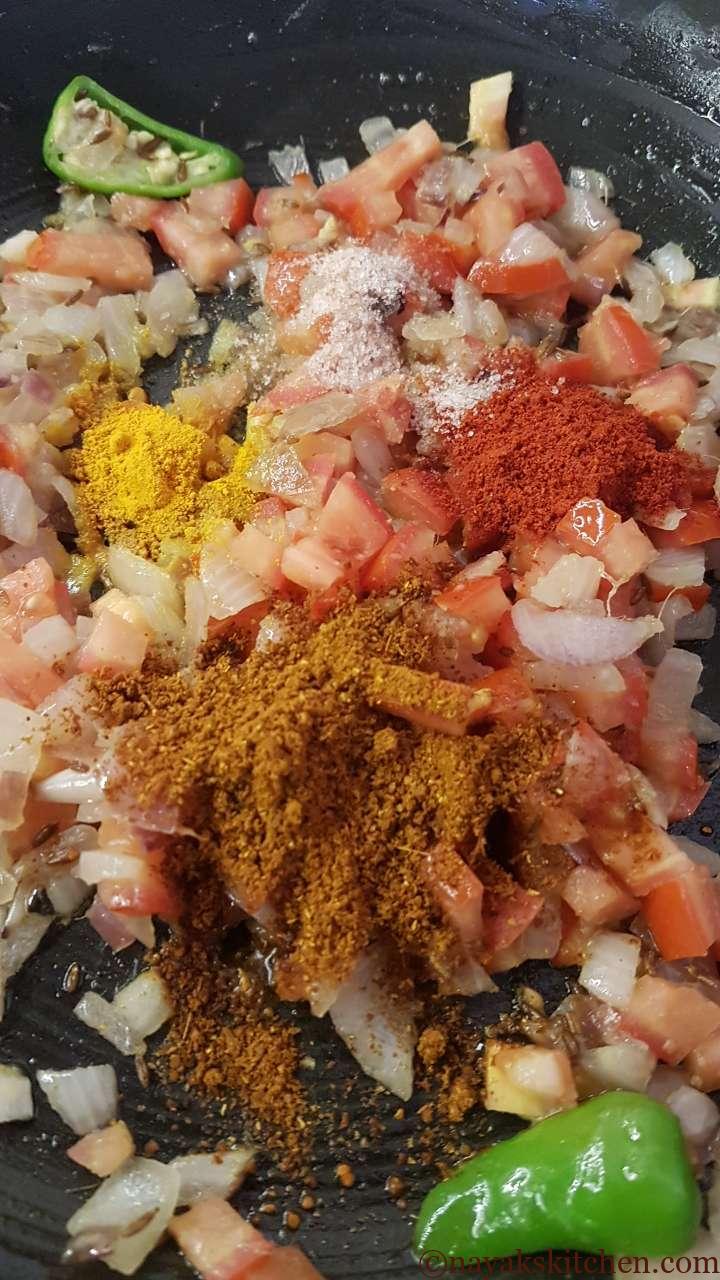
4. Next add the chopped tomatoes and all the spice powders. i.e. turmeric powder, chilli powder, garam masala powder and a little salt.
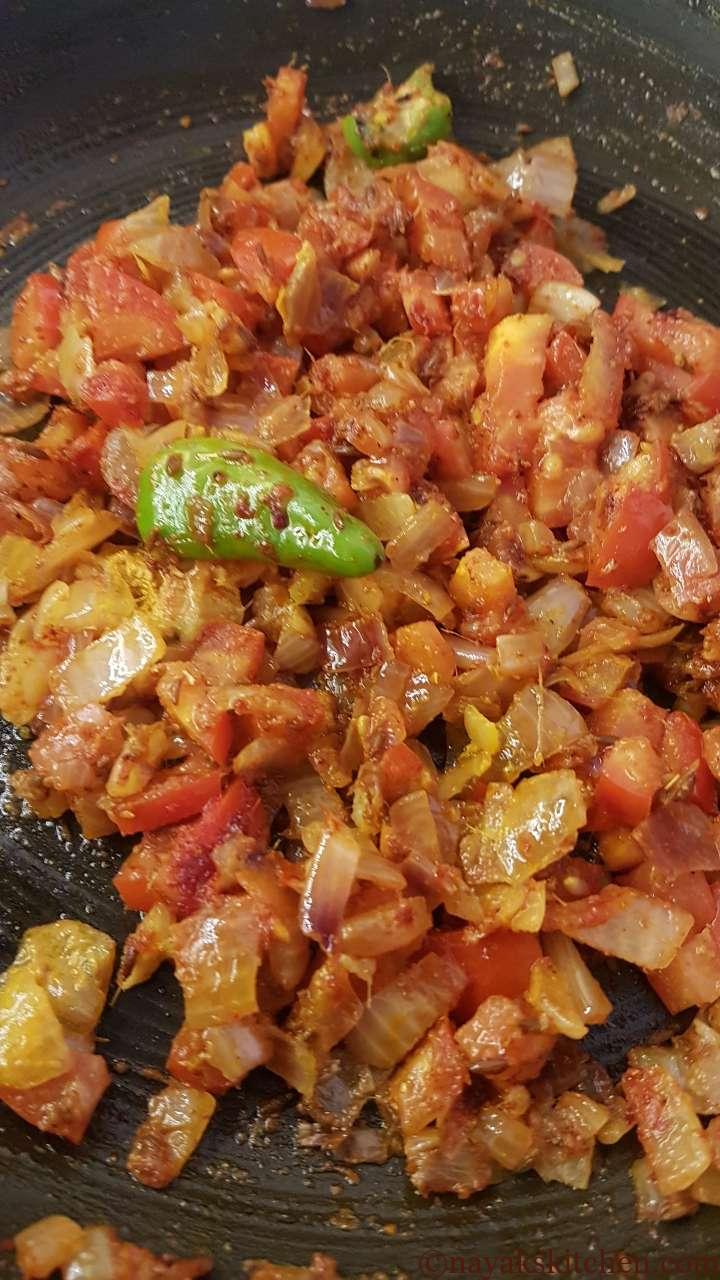
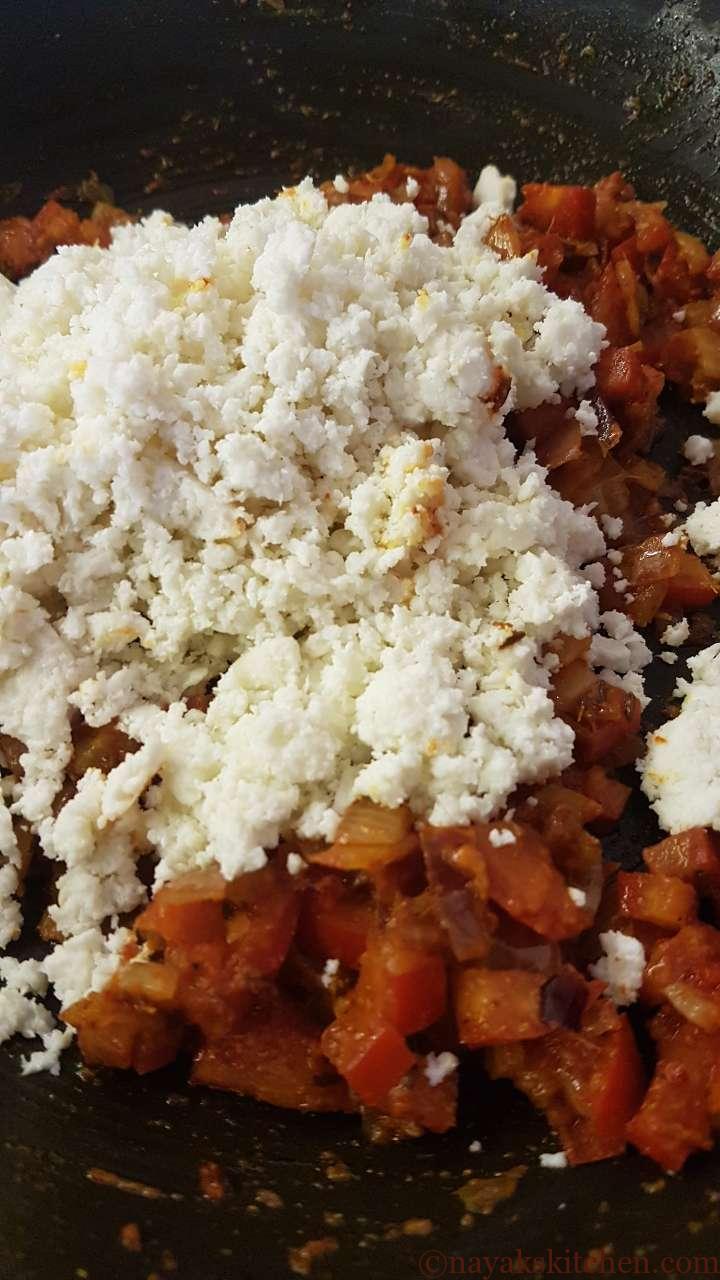
5. Sauté till the tomatoes turn mushy and soft. Next add the crumbled paneer.
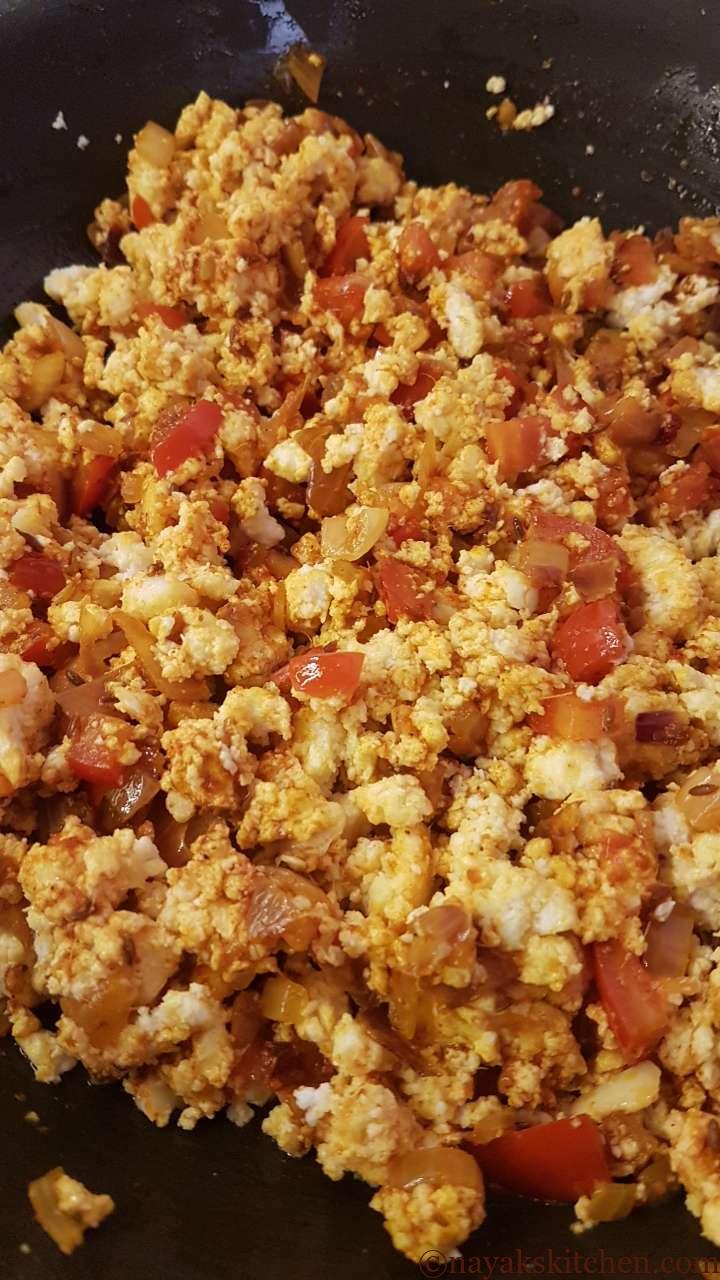
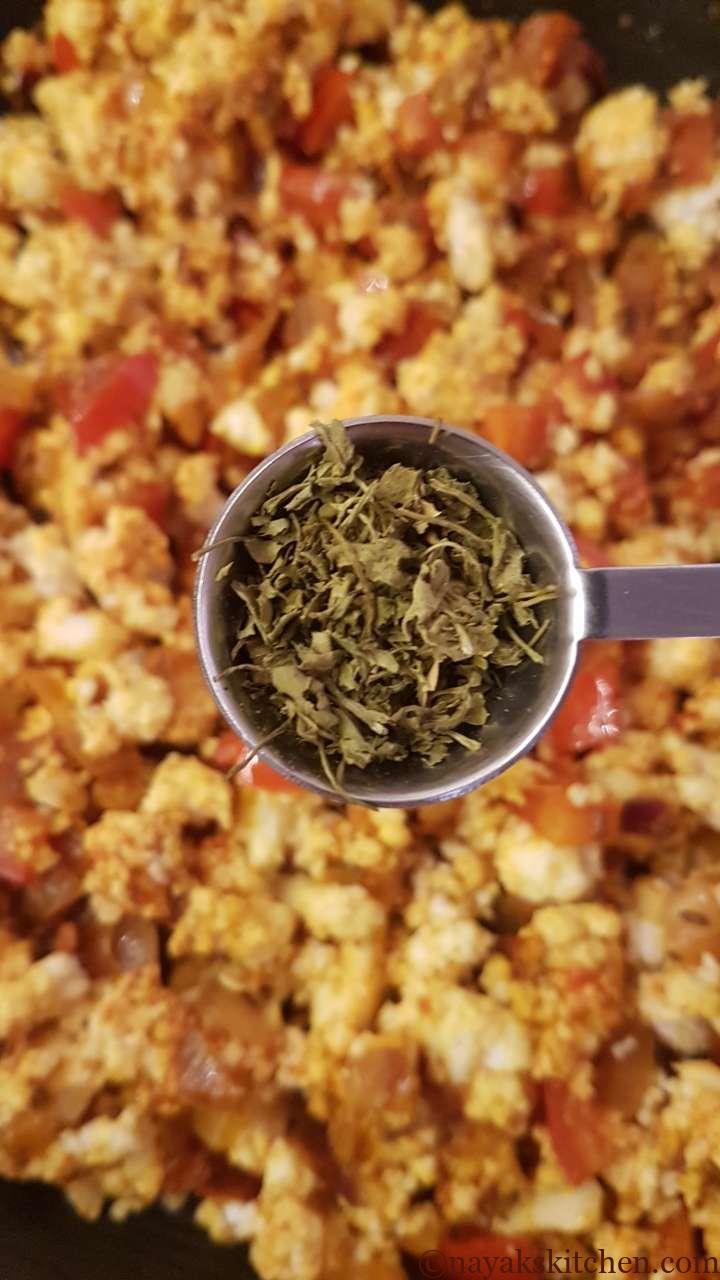
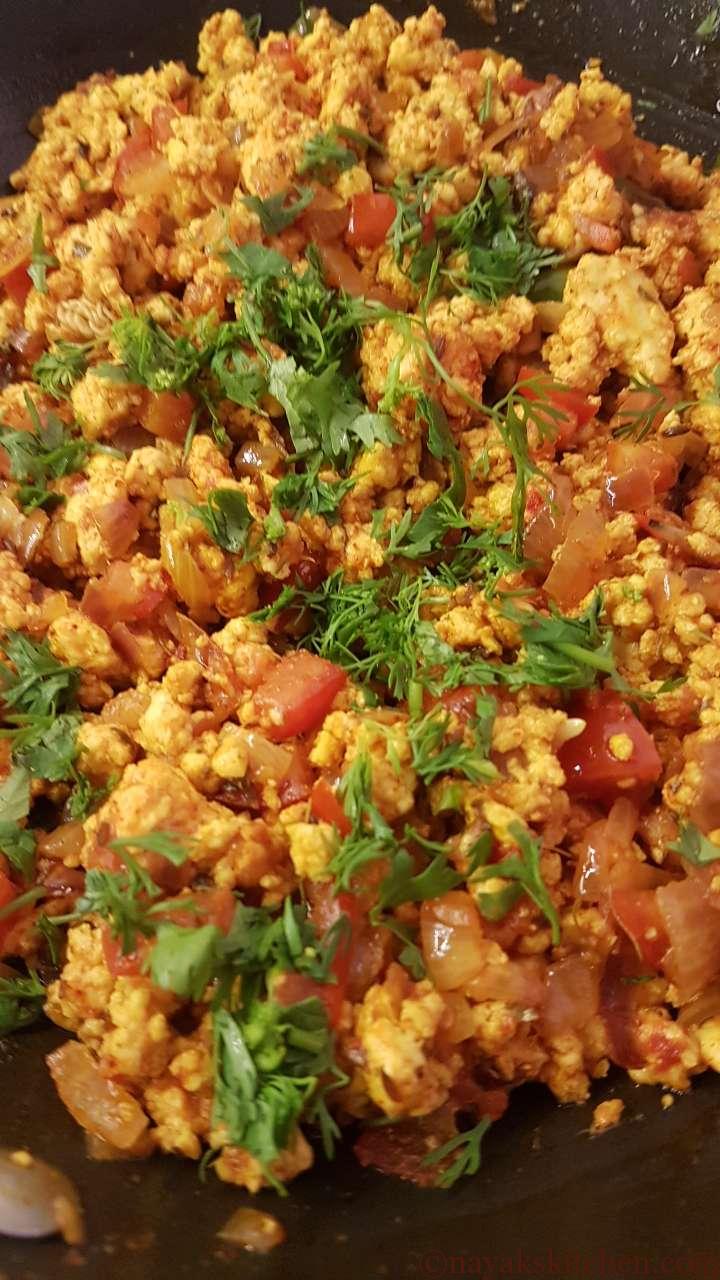
6. Gently mix the paneer with the onion-tomato-spice mixture. Do not mash or mix vigorously. Add crushed Kasuri methi (dried fenugreek leaves) and mix everything well.
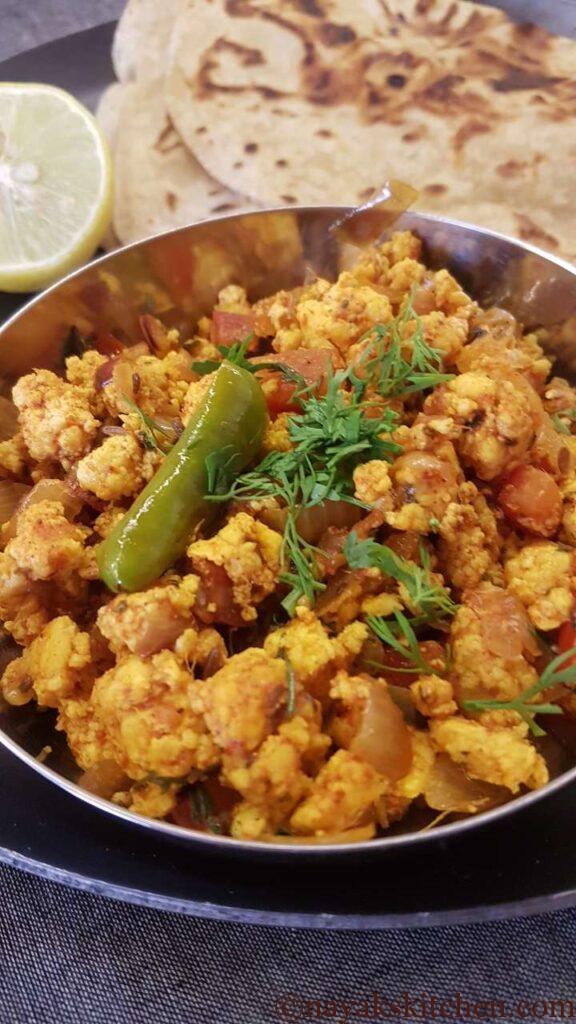
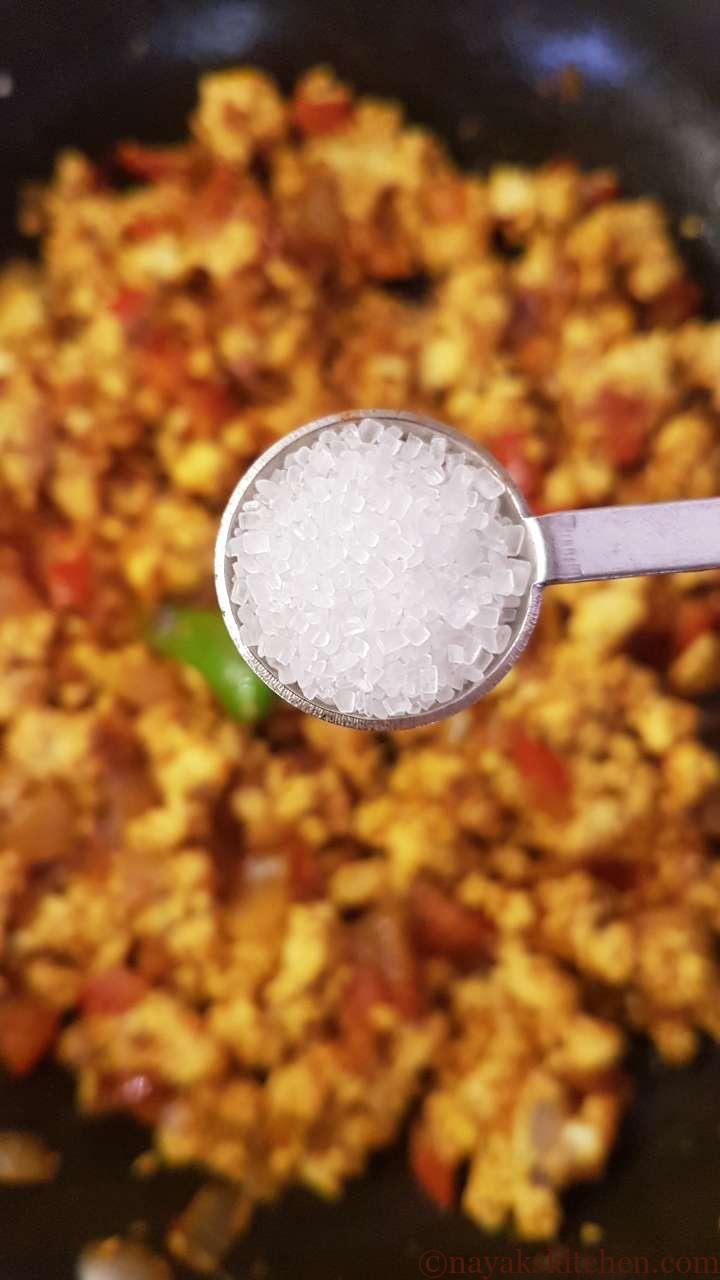
7. Add sugar and chopped coriander leaves. Do not cook the bhurji for too long else the paneer will become hard, dry and chewy. Switch off the gas and serve hot with any Indian flatbread (roti, chapati, naan etc.) of your choice.
Paneer Bhurji Recipe | Cottage Cheese Bhurji | How to make easy dry paneer bhurji
Course: Breakfast, LunchCuisine: North IndianDifficulty: Easy3
people10
minutes20
minutes30
minutesPaneer Bhurji is a popular vegetarian North Indian recipe where crumbled paneer is tossed with onions, tomatoes and spices.
Ingredients
1 cup = 250 ml
1 tbsp = 15 ml
1 tsp = 5 ml
Paneer/Cottage cheese – 2 cups (250-300 grams)
Onion – 1 no. ( chopped finely)
Tomato – 1 no. (chopped finely)
Green chilli – 1 no. (slit)
Ginger-garlic paste – 1 tsp
Cumin seeds (jeera) – 1 tsp
Oil – 2-3 tbsps
Kasuri methi (Dried fenugreek leaves) – 1 tsp (crushed)
Salt – as per taste
Sugar – 1 tsp (optional)
Coriander leaves – 2 tbsp (roughly chopped)
- Spice Powders
Turmeric powder – 1/4 tsp
Red chilli powder – 1 tsp (preferably Kashmiri)
Garam masala powder – 1/2 tsp
Directions
- Crumble the paneer and keep it aside covered. Chop the onions and tomatoes. Slit the green chillies.
- Heat oil in a pan. Add cumin seeds (jeera). Sauté the cumin seeds till they splutter and release an aroma. Do not burn them. Add the chopped onions and green chillies.
- Add ginger garlic paste. Sauté till the onion becomes soft and the raw smell of the ginger garlic paste goes away.
- Next, add the chopped tomatoes and all the spice powders. i.e. turmeric powder, chilli powder, garam masala powder and a little salt.
- Sauté till the tomatoes turn mushy and soft. Next add the crumbled paneer.
- Gently mix the paneer with the onion-tomato-spice mixture. Do not mash or mix vigorously. Add crushed Kasuri methi (dried fenugreek leaves) and mix everything well.
- Add sugar and chopped coriander leaves. Do not cook the bhurji for too long else the paneer will become hard, dry and chewy.
- Switch off the gas and serve hot with any Indian flatbread (roti, chapati, naan etc.) of your choice.
Notes
- Paneer – Use fresh soft paneer. It can be easily crumbled with hands. Homemade paneer is the best.
- Store-bought paneer – If you are using readymade paneer, immerse it in warm water for 15-20 mins. Drain the water completely and crumble the paneer. Note: If the paneer is soft you can skip this step.
- Tofu – For a vegan option, you can substitute paneer with regular tofu. However, do not use silken tofu as it is too soft and will fall apart. (Although regular and silken tofu are made using the same ingredients they are processed slightly differently and cannot be substituted in a recipe for each other.)
- Spices – You can adjust the spices as per your taste. This recipe is medium-spicy.
- Chilli powder – Preferably use Kashmiri chilli powder as it imparts a bright red colour to the bhurji. However, you can always use any chilli powder if unavailable.
- Kasuri methi – Warm the Kasuri methi slightly till it turns crisp (You can warm it on a tava). Crush and then use in the paneer bhurji recipe.
- Sugar – Use of sugar is optional. I have added a tsp of sugar to bring down the tartness of the tomatoes.
- Leftovers – You can use any leftover bhurji to make sandwiches or use as a filling in wraps (Kathi rolls).
- Capsicum – You can add capsicum as a variation. I, however, do not prefer it as it turns the bhurji soggy at times.
- Mumbai-street style – You can add 1 tsp pav bhaji masala for a Mumbai street style paneer bhurji.
- Dhaba-style paneer bhurji – Use ‘Dhungar Method‘ to get an aromatic smoky Dhaba style paneer bhurji. For this, at the end of the recipe, a burning piece of coal is placed in a bowl inside the pan. Then a few drops of ghee are poured over the coal and a lid is placed over it. The emitting smoke is trapped in the pan and it gets infused in the food. This gives a wonderful tandoori effect to the recipe. However, do remove the coal from the pan after 30 seconds else the bhurji will become too smoky.


Thanks Supriya. 🙂
The love for paneer is never ending and upon that the b bhurji wow. I loved this recipe and make it quite often as I love the taste it has. Thank you so much for putting up this post.