Homemade curd recipe with step-by-step photos and instructions.
When something is there around for too long you take it for granted. Be it the relationships, blessings in our life or something as humble as the curd. The one food that can set all things right you have done wrong to your gut is CURD!
Yes curd is probably not glorified as much, but it can actually restore your digestive health. In fact it is one of the ingredients of ‘Panchamruta’ (Panch meaning five and amrut meaning nectar) which is used in many rituals as an offering to the deity. Many popular recipes use curd as the main ingredient. eg; lassi, raitas, shrikhand, curd rice, dahi vada, chaats etc.
Your gut health is of paramount importance. To keep your gut health in good condition including curd in any form is a good start.
Well if you are one of those who has homemade curd almost daily like me then you are really blessed. If not then start including it in your diet and see the difference. Did I hear you say ‘making curd at home? not for me..’ then read on. Probably by the end of the post I might be successful in convincing you to make your own “homemade curd”. 😆
Read the full post as it will help you get the basics right behind making curd.
Also do check out how to make homemade ghee here.
What is Curd?
Curd (Dahi in hindi or Dhai in Konkani) is an integral part of Indian cuisine. It is a fermented milk product that is prepared using cow or buffalo milk. Curd is made through a process of fermenting milk by the addition of a starter (culture)also known as jaman in Hindi or virzan in Marathi and Konkani. The starter used is curd itself. It contains Lactobacillus bacteria which converts lactose in milk to lactic acid. That is the reason curd is good for people who are lactose intolerant.
Although making curd at home is very easy many of them struggle to make that perfect thick, creamy curd. Either the curd becomes watery or it turns out slimy. Hence most of them prefer store-bought curd. I do not like the store curds as they are too thick. Also, I set curd almost everyday as we include it daily in our diet.
Making Curd at home/Why should we make curd at home?
There are multiple reasons why you should make curd at home. Firstly, store-bought curds are expensive compared to homemade curd. They are also either very thick, watery, stringy or slimy. Also as the curd turns sour with passing time, it is not advisable to eat it. So if you make fresh curd daily it will be beneficial for your health.
Factors to be taken into account while setting homemade curd
- Milk – Use full fat, fresh cow milk or buffalo milk. Buffalo milk has a higher fat content than cow’s milk. This will give you thick curd. You can use packet milk to set curd. However, increase the quantity of the starter
- Starter (Quality and Quantity) – Quality of the starter is very important. Sour, watery, stringy or slimy starter will give you similar curd. The right quantity of starter matters as it will affect the thickness of curd and the time that it takes to set. Also the quantity added depends on the next factor too. During summers, you will need less starter as compared to winters.
- Weather Conditions – Curd sets faster in summers. It takes about 5-6 hours or even less. However in winters it may take 9-10 hours or even more.
- Temperature of milk – Milk should be warm to touch. It should not be hot, lukewarm or cold.
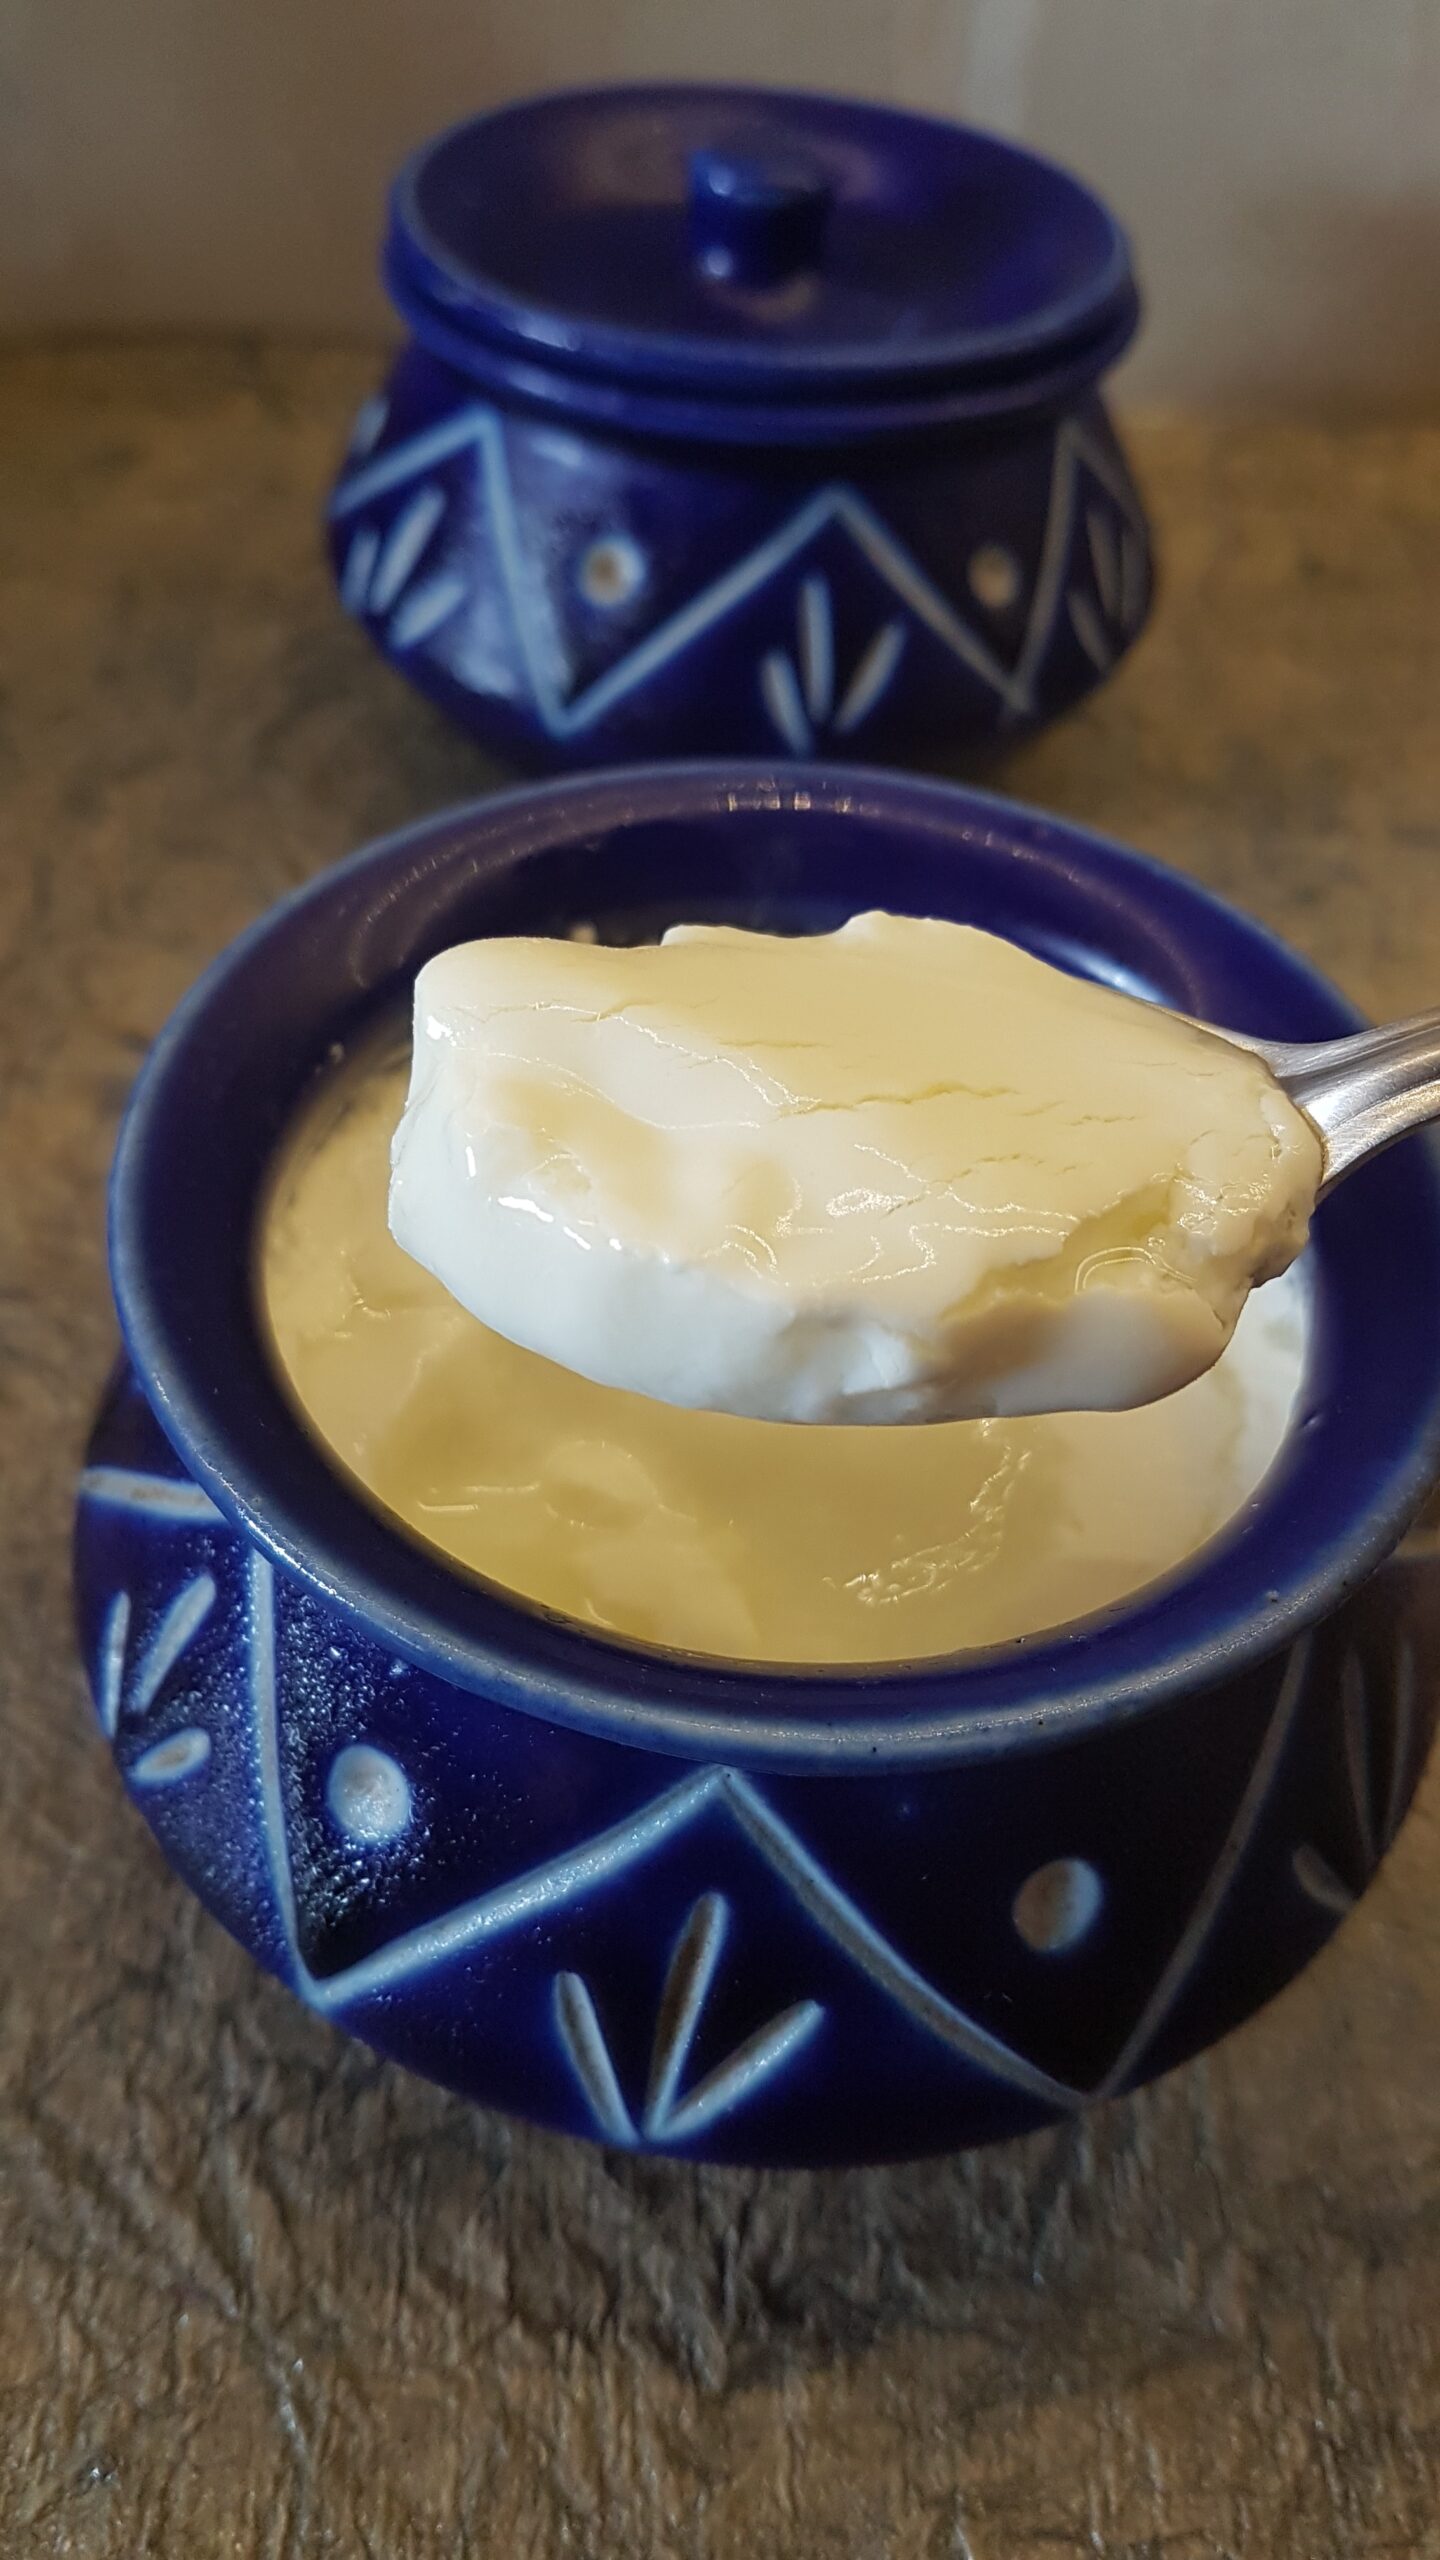
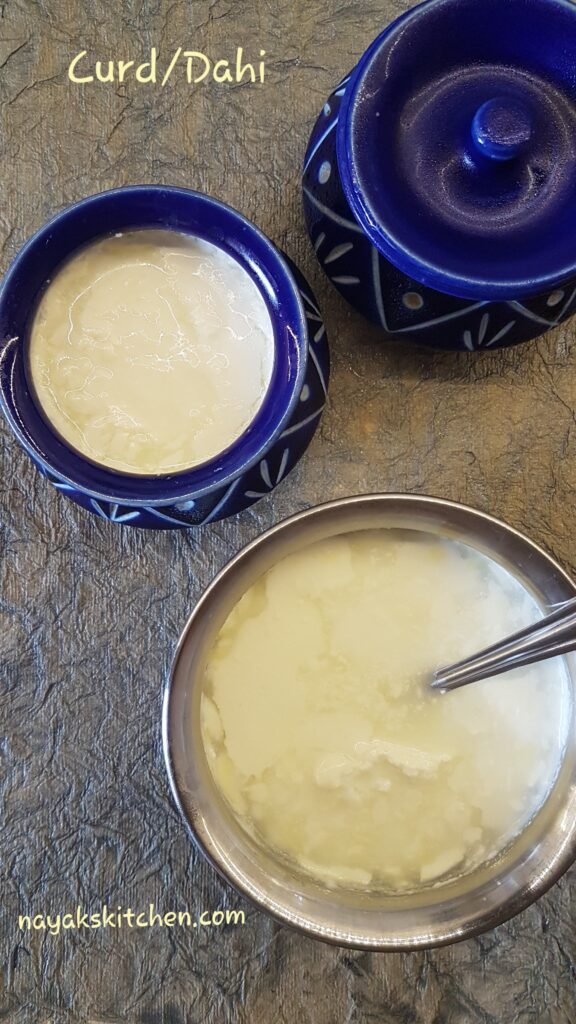
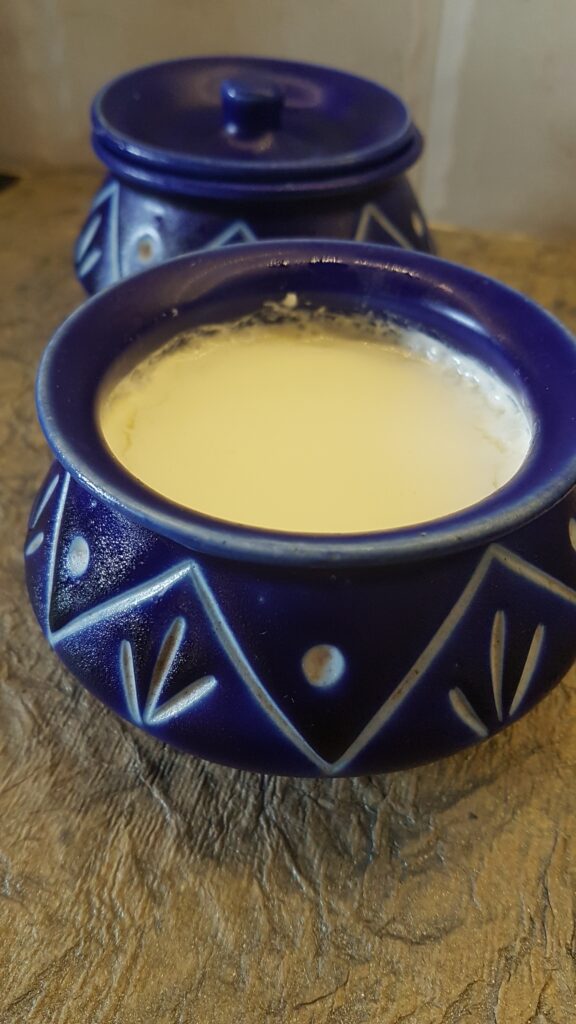
- Container – Curd sets best in clay pots. You will get less whey (water) and it will turn out very rich and thick. If you do not have clay pots, next best option is a ceramic container. You can also set curd in glass or steel. But do not use plastic containers.
So you see there is no right recipe for making curd. Once you get the above factors right setting curd will be damn easy. You will have to take into account all the above factors at your place and experiment accordingly.
How to set curd in winters?
- Place the container in a casserole/hot pot or you can set curd directly in the casserole. You can also wash the casserole with hot water to trap heat and then place the bowl. This will set the curd even more faster.
- You can place it inside the oven with the light bulb on.
- Keep it close to the gas stove as it is warmer there.
- Wrap the container with a blanket or woollen sweater.
- Place it in the rice or wheat container. However be careful not to spill the milk.
Frothing of milk – Why and how to froth milk?
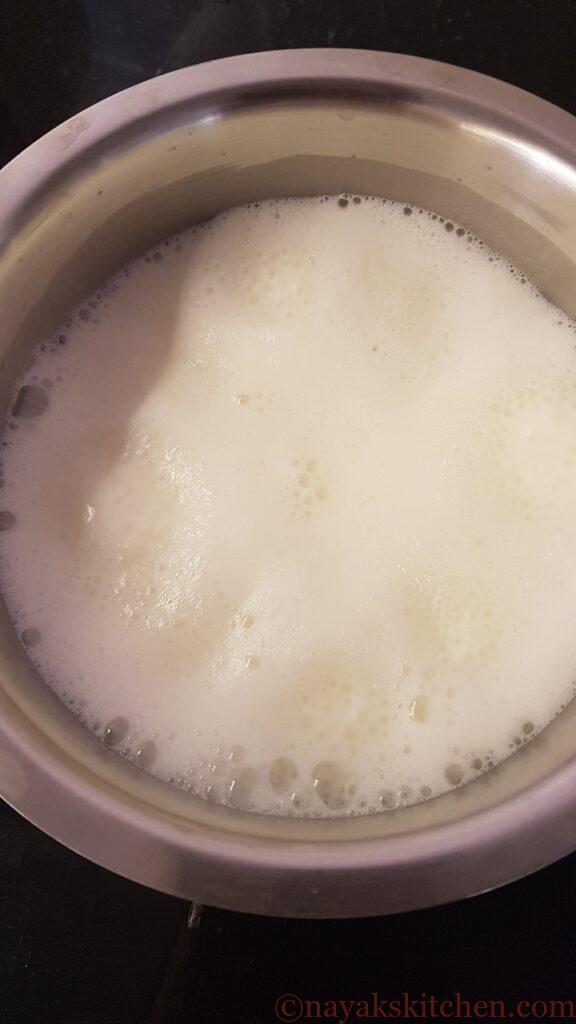
Frothing milk is creating froth in the milk manually by pouring it from one vessel to another from a height. This process disperses the fats evenly in the milk and prevents formation of cream resulting in uniformly dense curd.
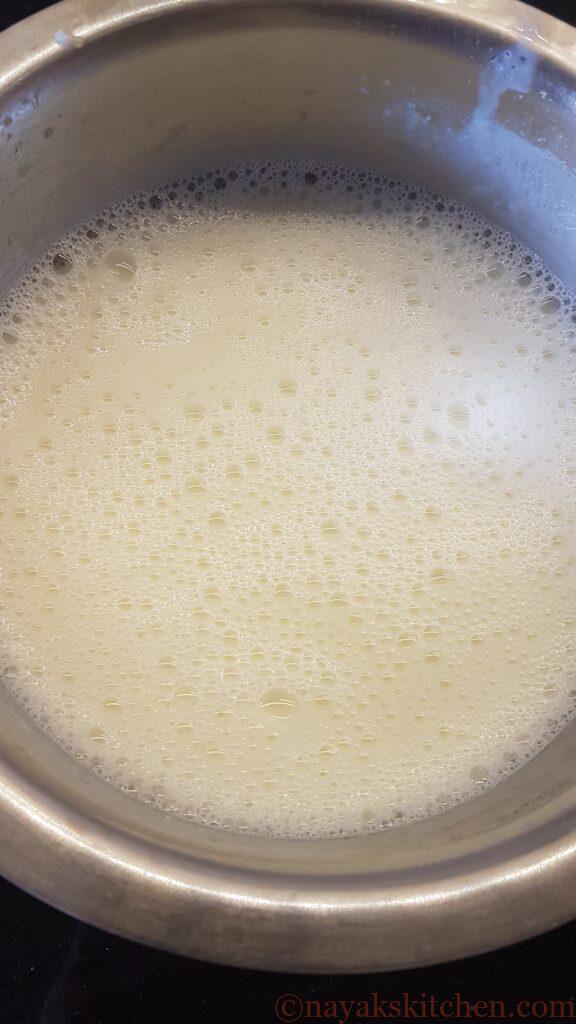
To froth milk for setting curd, start when the milk is slightly hot as milk will start cooling down once you start frothing. Pour milk from one utensil to another from a height to create tiny bubbles. This also prevents any cream formation. Do this a couple of times till you see the top layer covered with bubbles. Note that after frothing, the milk should be warm to touch.
Tips for good homemade curd
- Always use full-fat milk for best results. Buffalo milk is better than cow milk since it has a higher fat content.
- The starter should not be sour.
- Adjust the starter quantity as per the weather. During summers less starter is required whereas during winters more needs to be added.
- One more aspect I have noticed is that if you continue using curd from previous batch as a starter the subsequent curd keeps getting sour. So I bring a small pack of market curd and use that as a starter.
- Frothing up milk in a to and fro motion results in a uniform density of milk. The fats are evenly distributed resulting in a rich and evenly thick curd.
- Use ceramic, clay, glass or steel containers to set curd. Clay pots give best results.
- Do not disturb the bowl until the curd is set.
- Refrigerate the set curd for 6 hours or more to make it even more thick.
- If your curd still does not set well try with a different brand of milk and starter culture.
How to make curd/dahi?
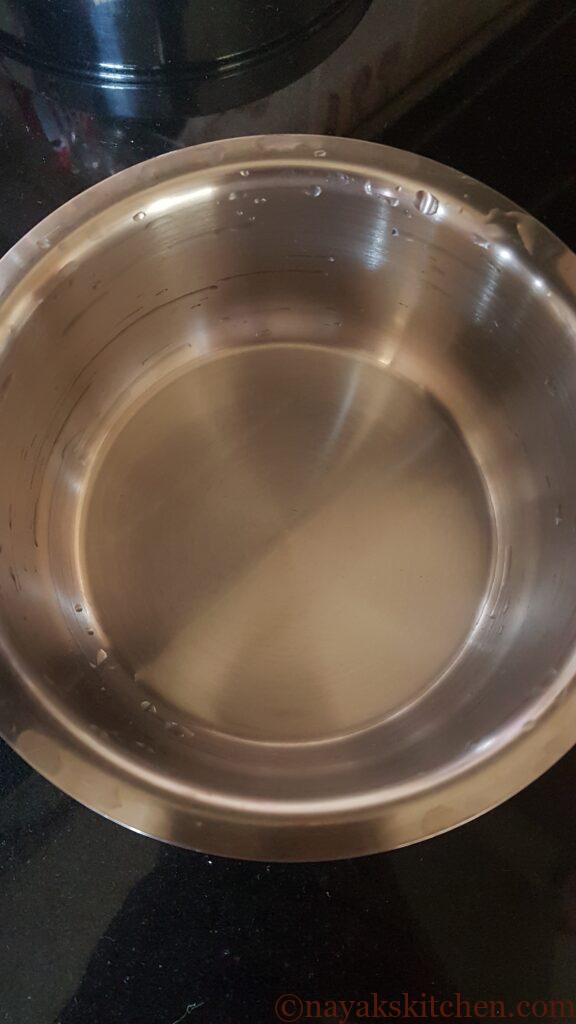
- Rinse the vessel with fresh water. This prevents scorching of milk at the bottom. Pour full-fat milk into it and place on the gas stove over medium heat.
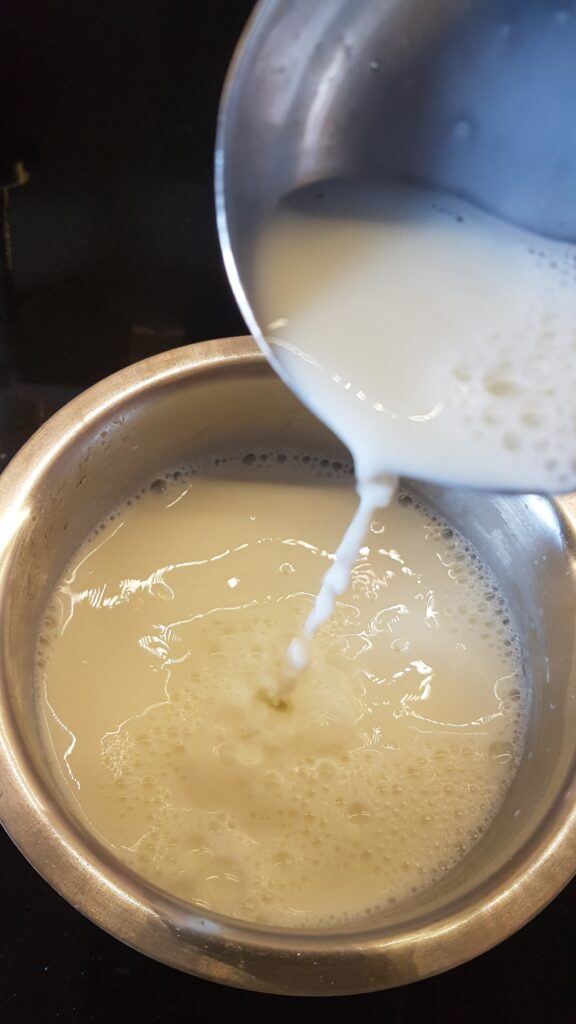
2. Bring the milk to a boil. Once it boils reduce the flame to low. Keep stirring in between to prevent formation of layers of cream. Simmer the milk on low flame till it reduces. Switch off the gas and allow it to cool a bit.
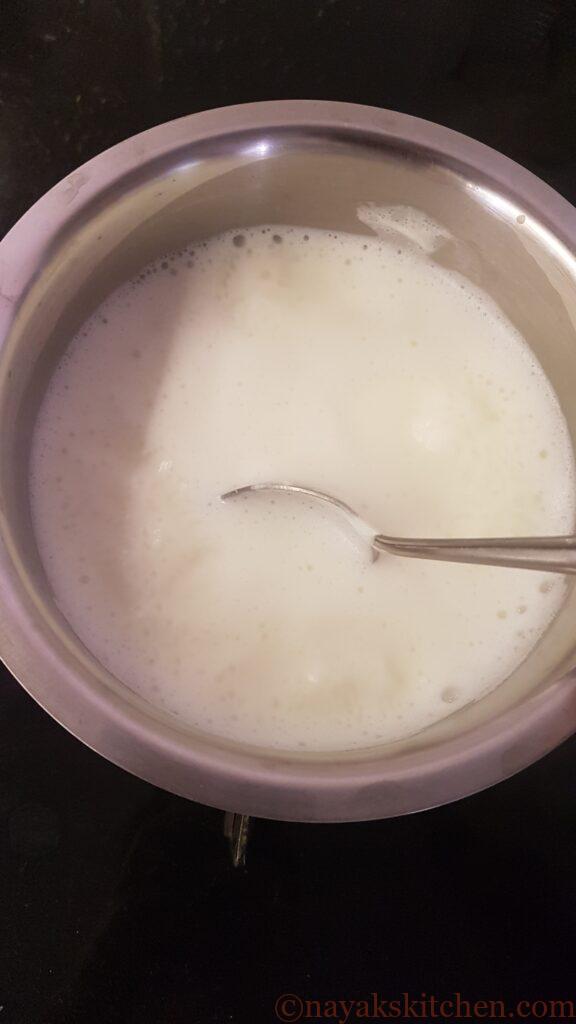
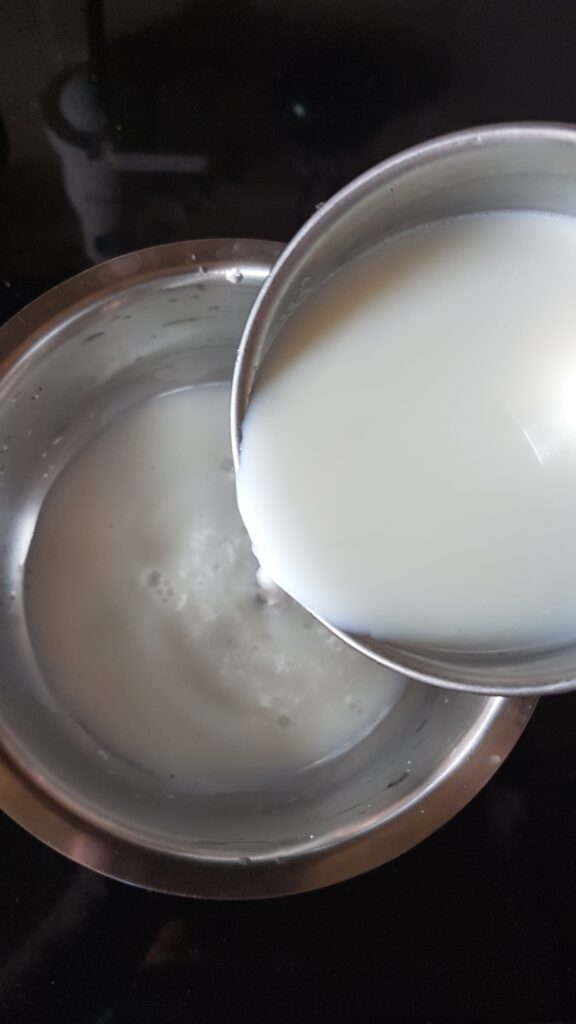
3. Once slightly cool, froth up the milk in a to and fro motion from one vessel to another. This is optional and you can skip this step. However, this prevents formation of cream and gives you thick and rich curd. Also it distributes the fat content equally.
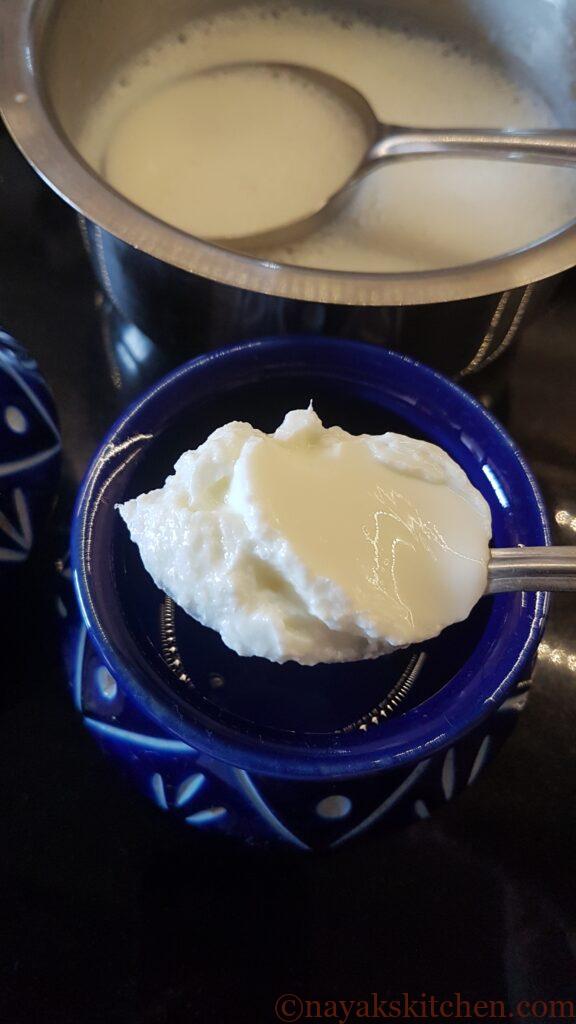
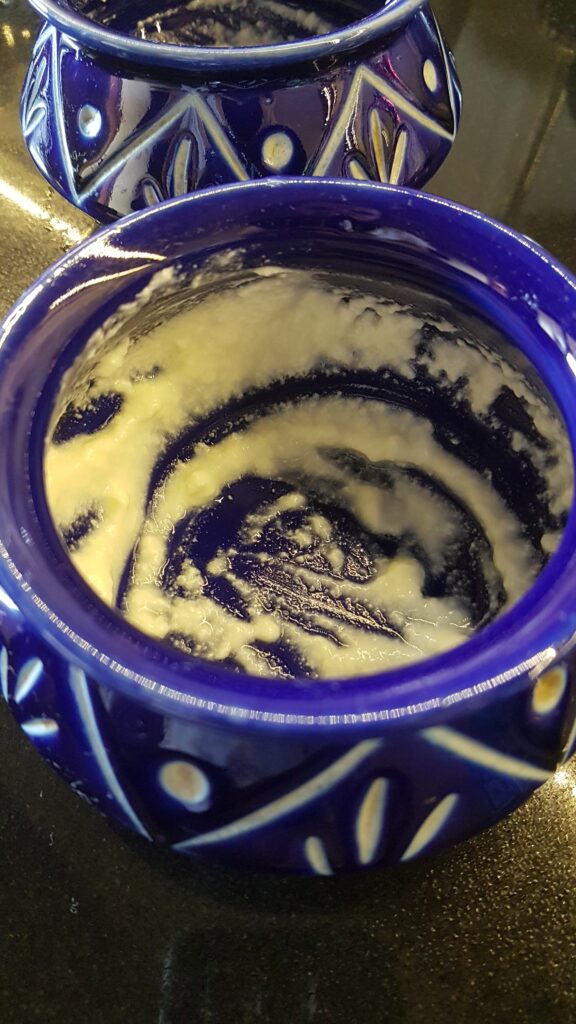
4. Next in a container add the starter and smear it well. (Note: You can directly add the starter to the vessel in which you have boiled the milk. But make sure you mix it thoroughly.)
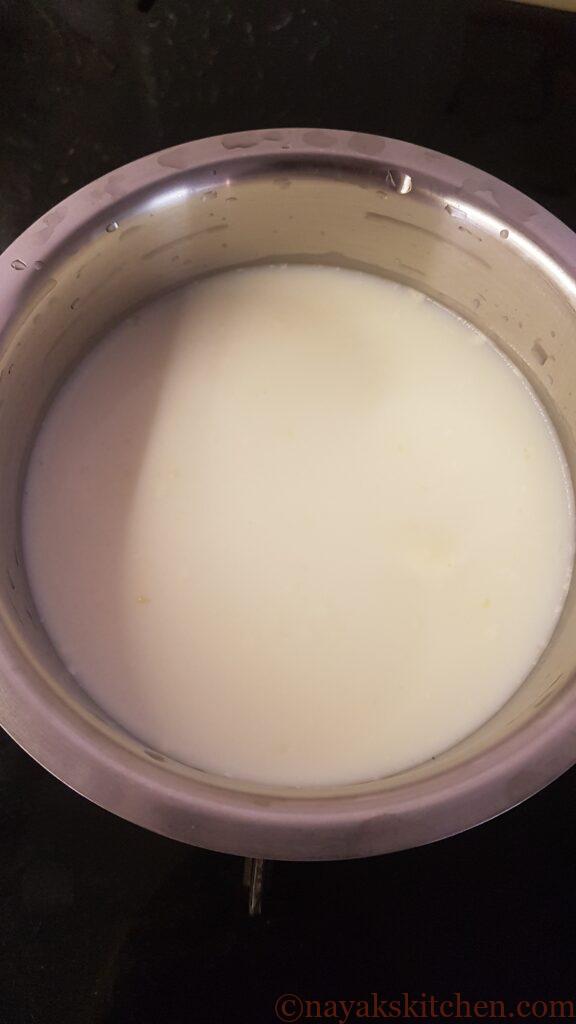
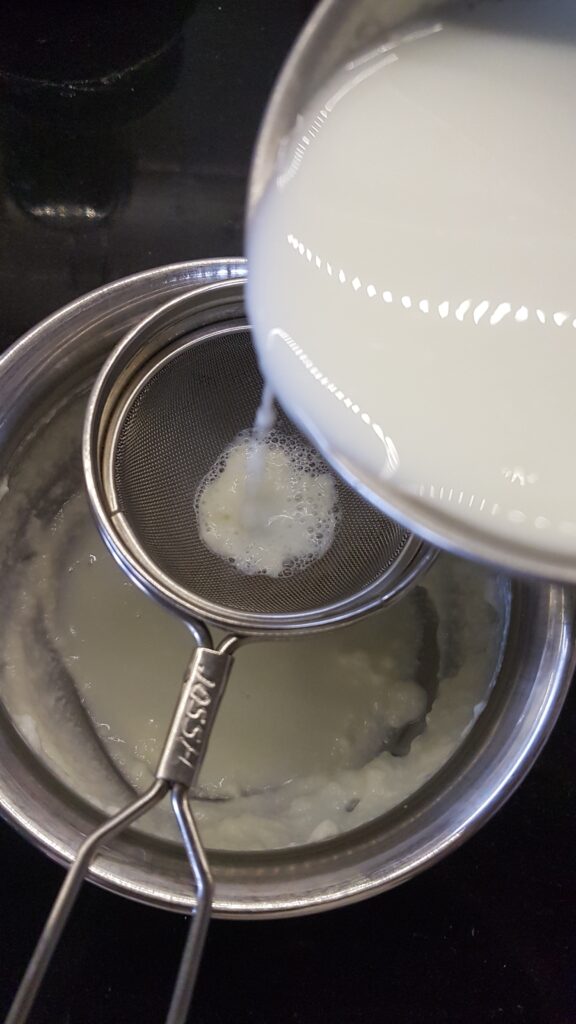
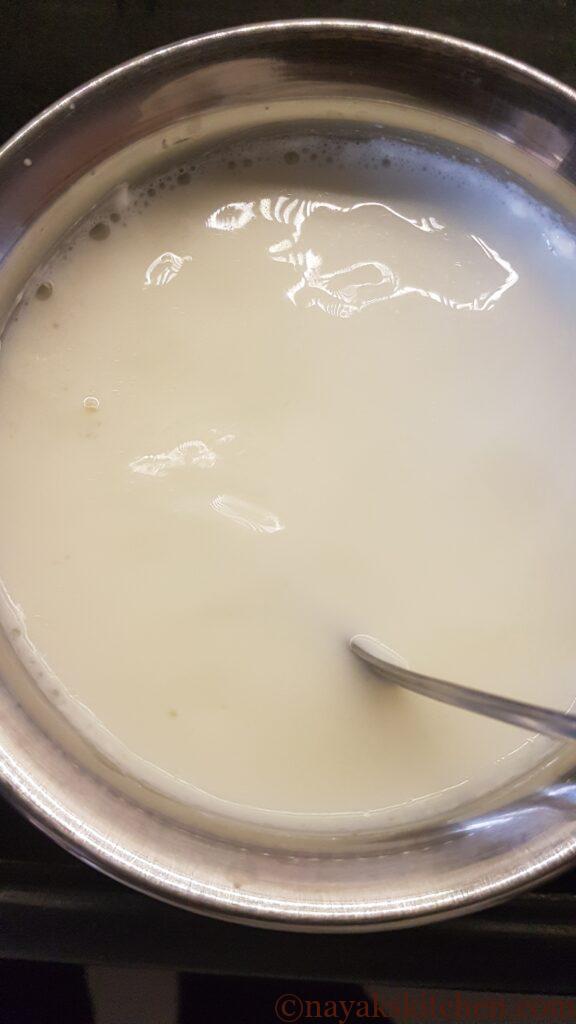
5. Now strain the milk to remove any cream or you can add the milk directly too. Cover and keep in a warm place for 5-6 hours or until it sets.

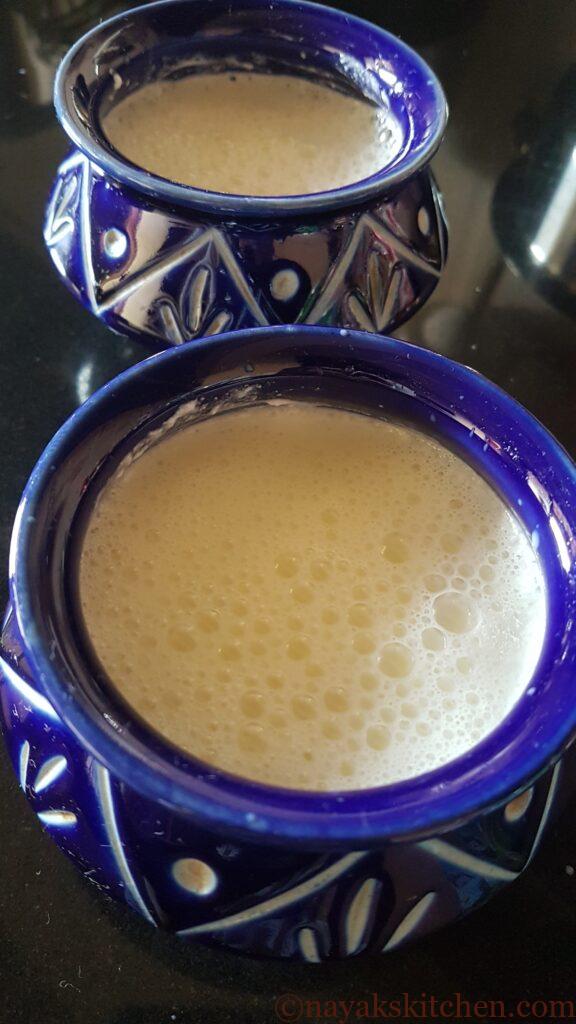

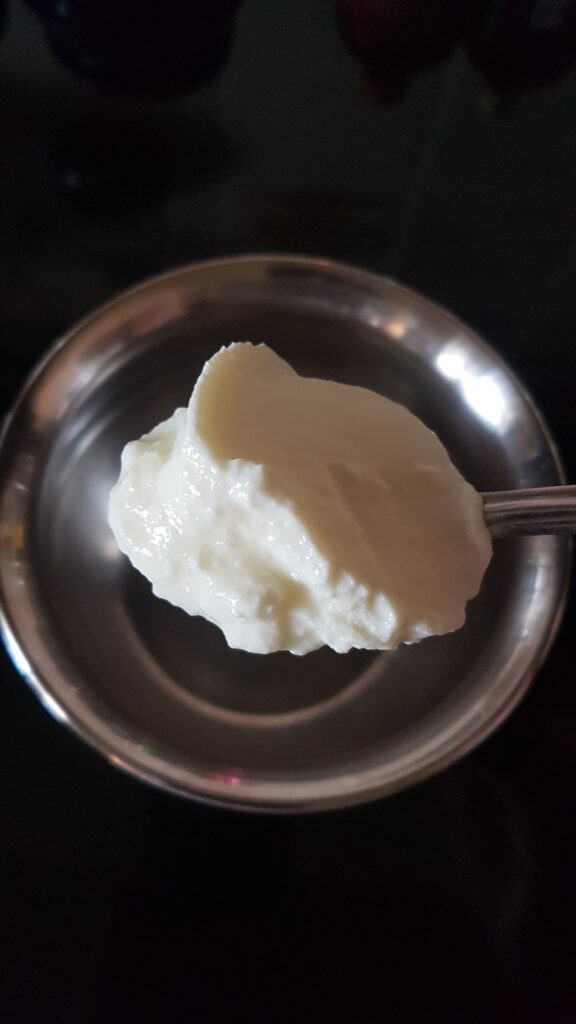
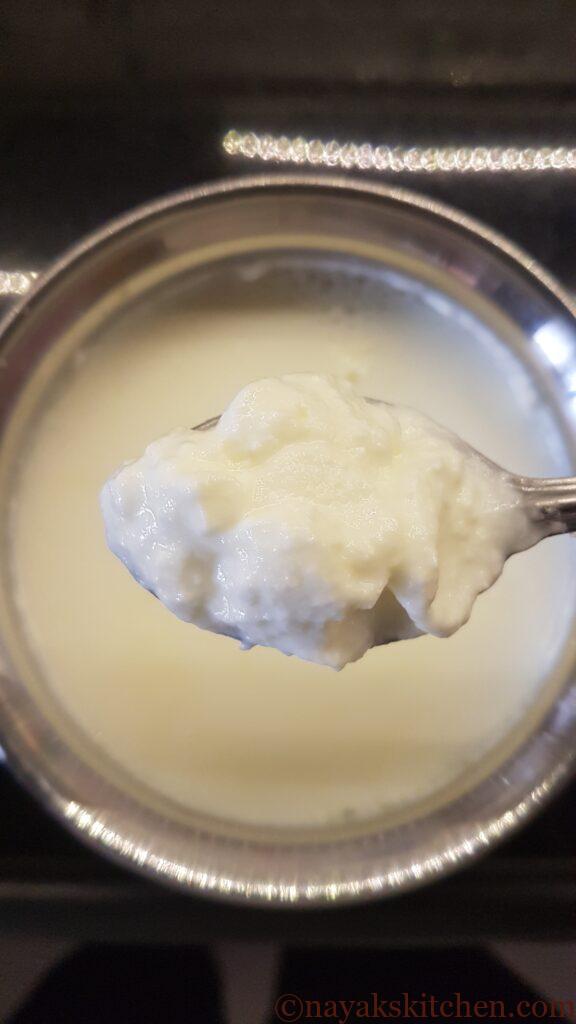
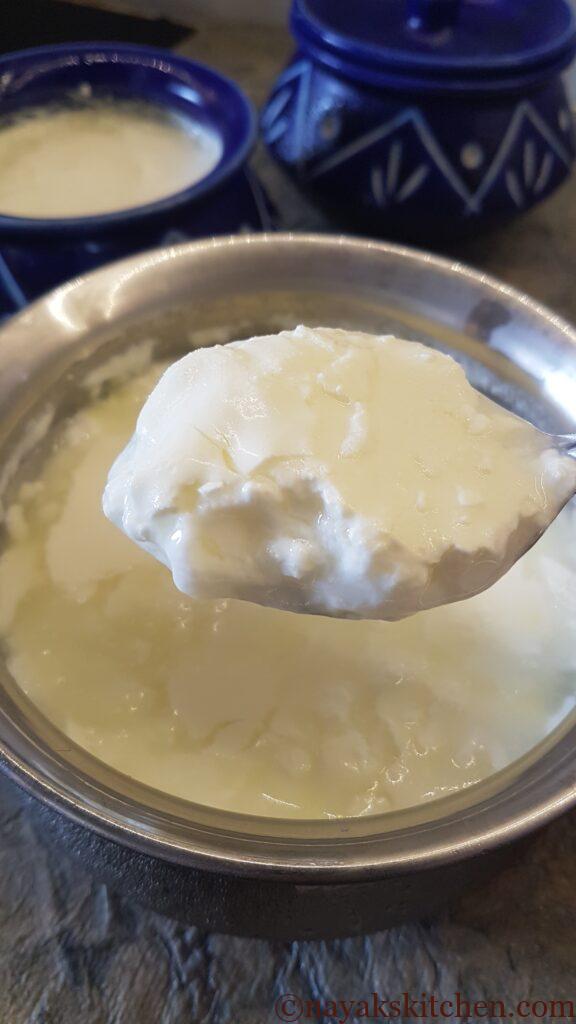
6. After 6 hours my curd set perfectly. You can see there is very little whey formed. Also it is very thick and luscious.
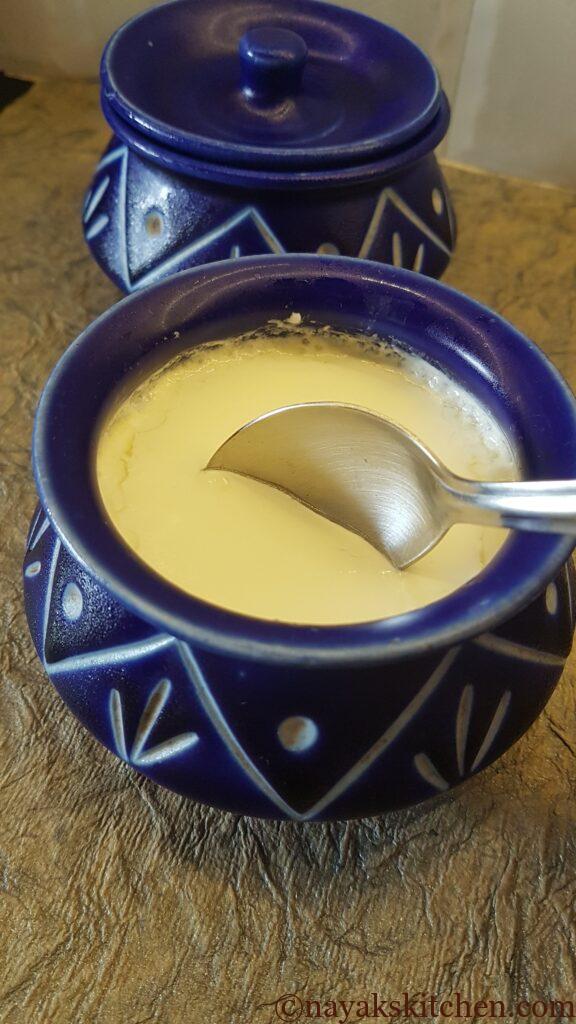
7. Refrigerate the curd for about 5-6 hours. This further thickens the curd. You can use it in any recipe of your choice or enjoy it just plain. I love to eat it with a spoon of sugar.

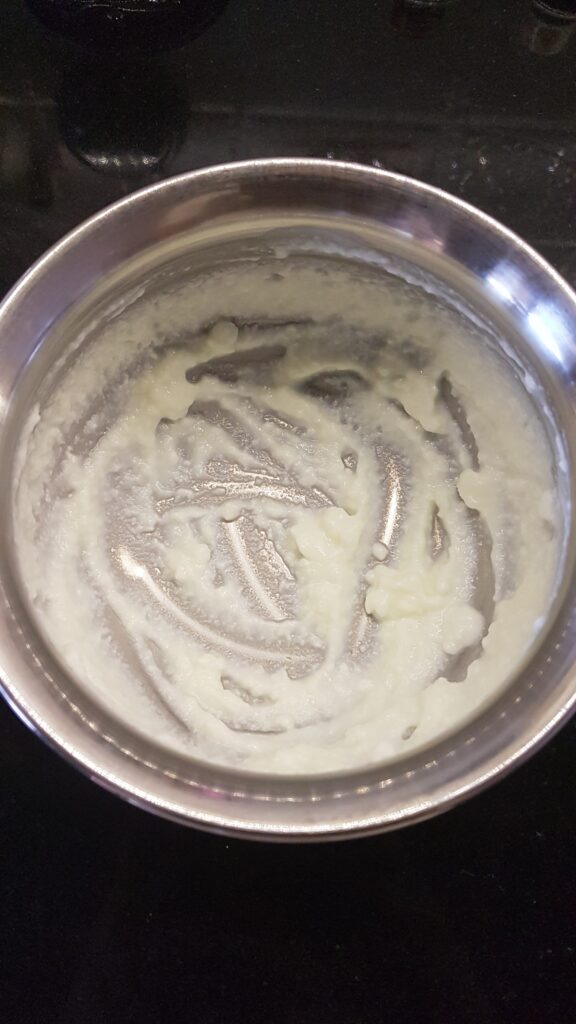
8. I also set the curd in a steel bowl. Below are the pics. In addition to smearing the bowl, I also added an extra tablespoon of starter and mixed it well.

Homemade curd | How to make curd | Thick, creamy curd recipe
Course: Home, How ToCuisine: IndianDifficulty: Easy2
cupsLearn to make thick, rich and luscious curd or dahi from milk.
Ingredients
Milk (full-fat) – 500 ml (1/2 litre)
Starter/Curd – 2 tbsps
Directions
- Rinse the vessel with fresh water. This prevents scorching of milk at the bottom. Pour full-fat milk into it and place on the gas stove over medium heat.
- Bring the milk to a boil. Once it boils reduce the flame to low. Keep stirring in between to prevent formation of layers of cream. Simmer the milk on low flame till it reduces. Switch off the gas and allow it to cool a bit.
- Once slightly cool, froth up the milk in a to and fro motion from one vessel to another. This is optional and you can skip this step. However, this prevents formation of cream and gives you thick and rich curd. Also it distributes the fat content equally.
- Next in a container add the starter and smear it well. (Note: You can directly add the starter to the vessel in which you have boiled the milk. But make sure you mix it thoroughly.)
- Now strain the milk to remove any cream or you can add the milk directly too. Cover and keep in a warm place for 5-6 hours or until it sets.
- After 6 hours my curd set perfectly. You can see there is very little whey formed. Also it is very thick and luscious.
- Refrigerate the curd for about 5-6 hours. This further thickens the curd.
- You can use it in any recipe of your choice or enjoy it just plain. I love to eat it with a spoon of sugar.
Notes
- Always use full-fat milk for best results. Buffalo milk is better than cow milk since it has a higher fat content.
- The starter should not be sour.
- Adjust the starter quantity as per the weather. During summers less starter is required whereas during winters more needs to be added.
- Frothing up the milk makes the density of milk even and results in thick curd.
- Use ceramic, clay, glass or steel containers to set curd. Clay pots give best results.
- Do not disturb the bowl until the curd is set.
- Refrigerate the set curd for 6 hours or more to make it even more thick.
- If your curd still does not set well try with a different brand of milk and culture.


Looks tempting and delicious